This is how you can make your MarketPlace Live :
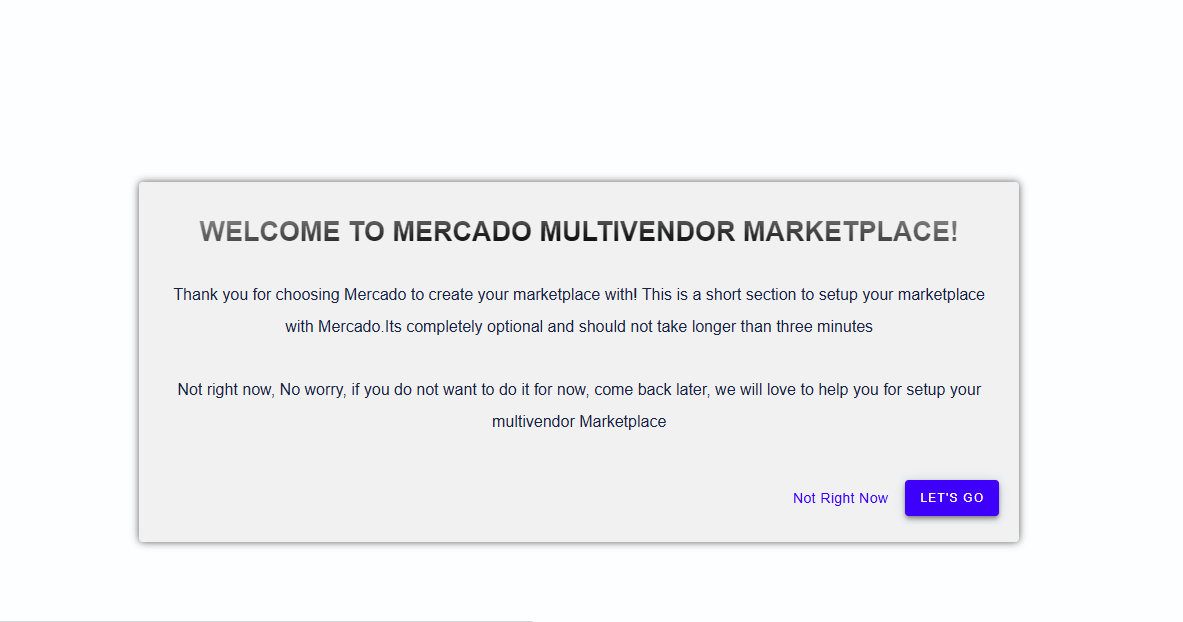
When you install the plugin for the very first time, you will be redirected to set up the wizard page. It gives you a step by step guidelines to set up Mercado plugin. Now, it shows you an introduction of the quick setup wizard. These settings will be very helpful to run your plugin smoothly.
After Installing The Plugin you will see these interfaces, here you need to set up your MarketPlace by just few clicks.
-
- Now, click on “Lets’s Go” to reach the store setup page where the original miracle will happen. For now, you skip this setting also to do it later, but we recommend you complete these settings right away.
-
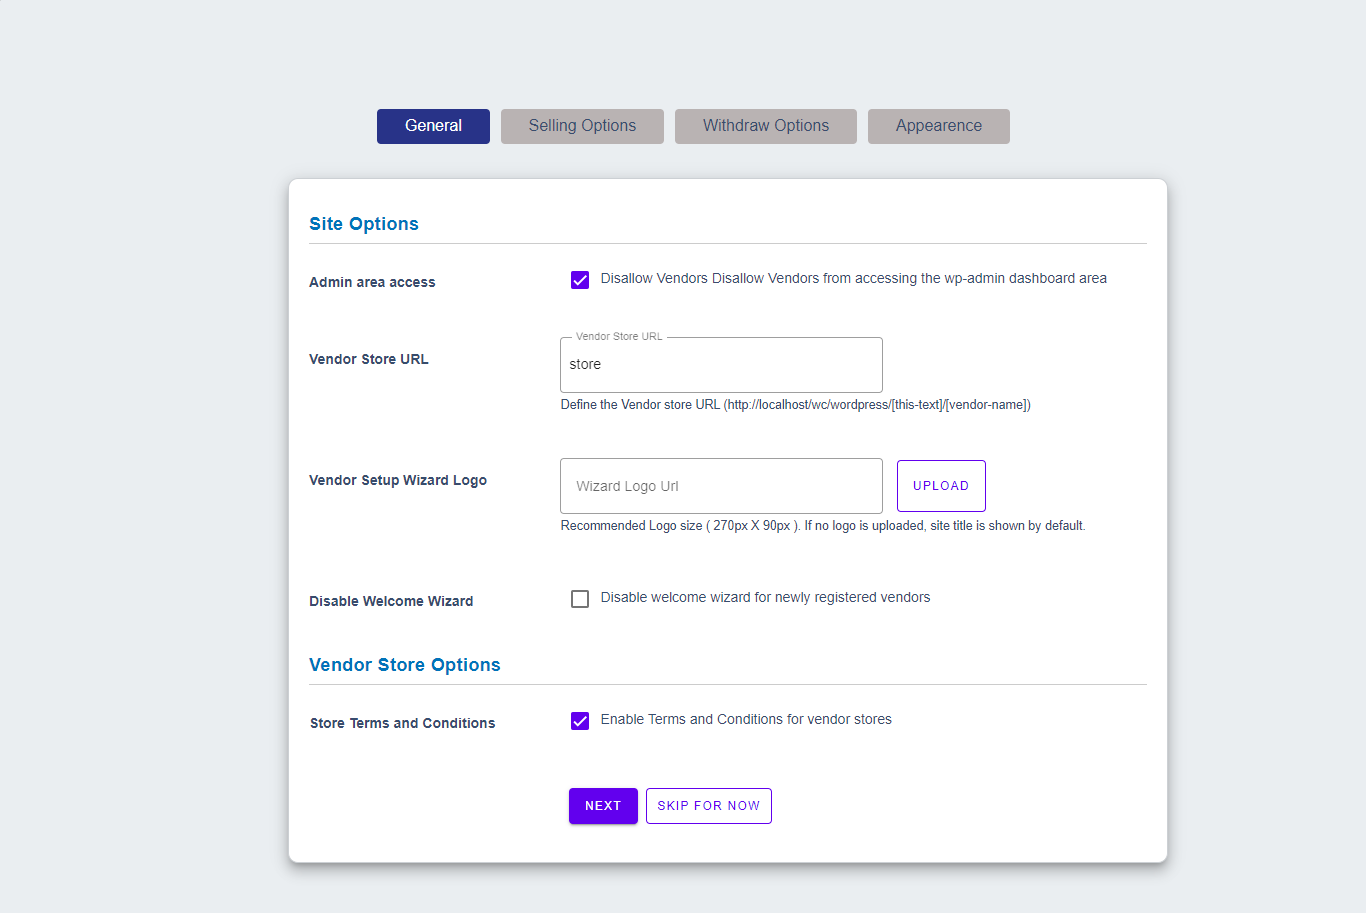
- These settings will you to Allow/Disallow vendors to access admin panel, Vendor store URL, Vendor’s wizard logo, Enable/Disable welcome wizards for newly registered vendors and Enable/Disable vendor store’s terms and conditions.
-
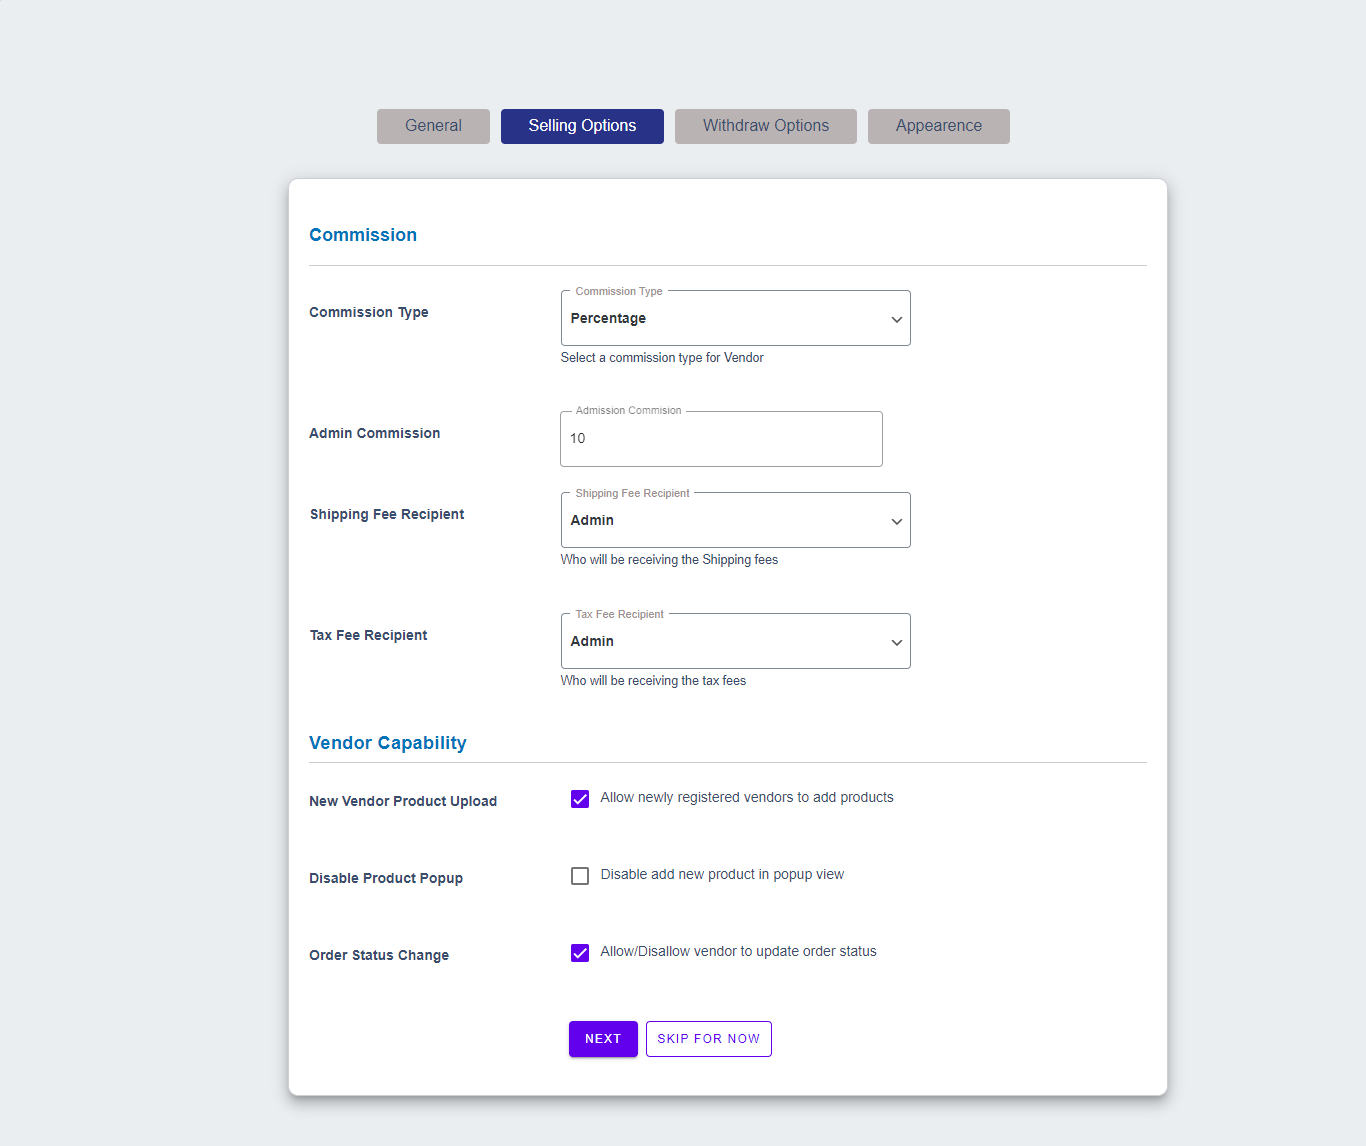
- Here, you will be able to set your commission which you will take from your vendors. Here commission type can be either Percentage or Flat, commission value which will be applied to all of your site vendors. Shipping fee recipient and Tax fee recipient can also be chosen by you, Enable/Disable sellings for newly registered vendors, Enable/Disable product add in the pop up view and also Allow/Disallow vendors to order status.
-
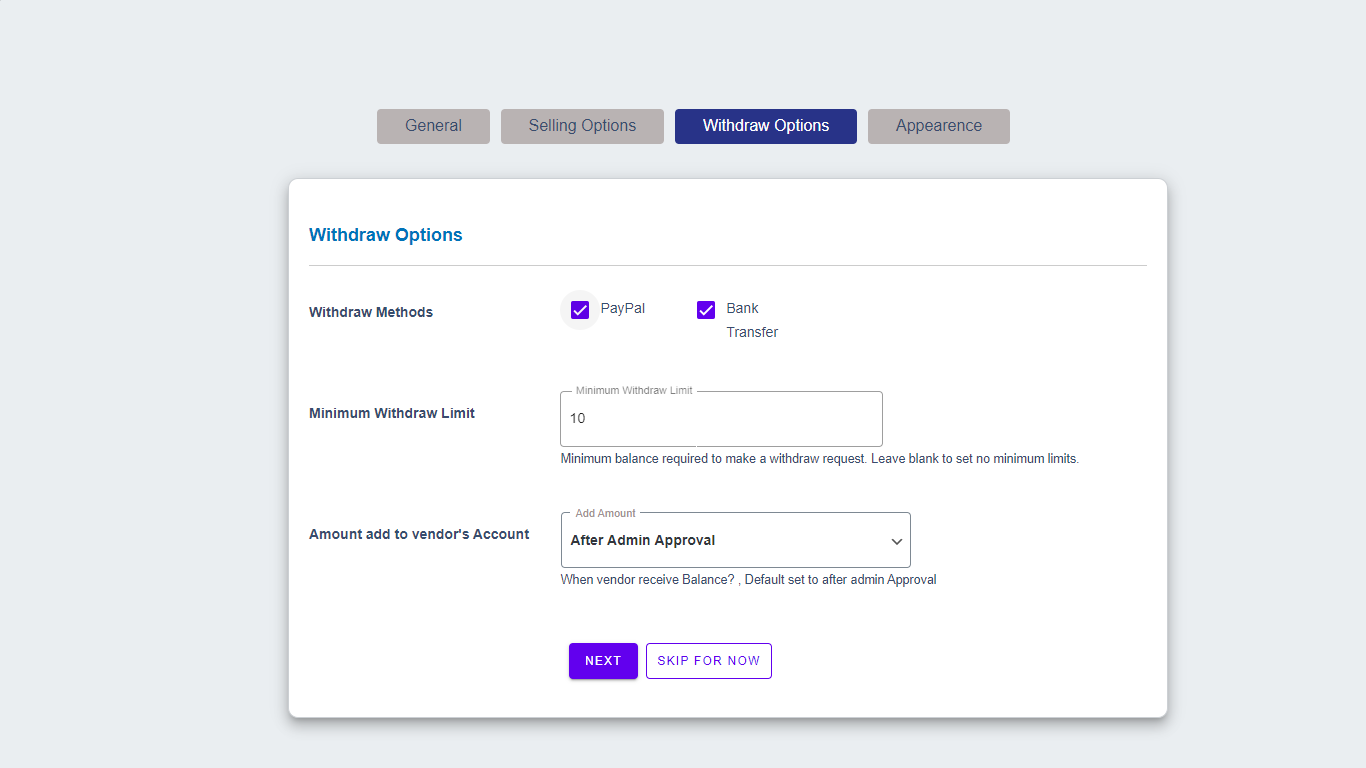
- There are withdraw methods such as Paypal & Bank Transfer, you can select withdraw method as you like, can set the minimum to withdraw limit for Vendors and also set that when the vendor will receive payment of ordres
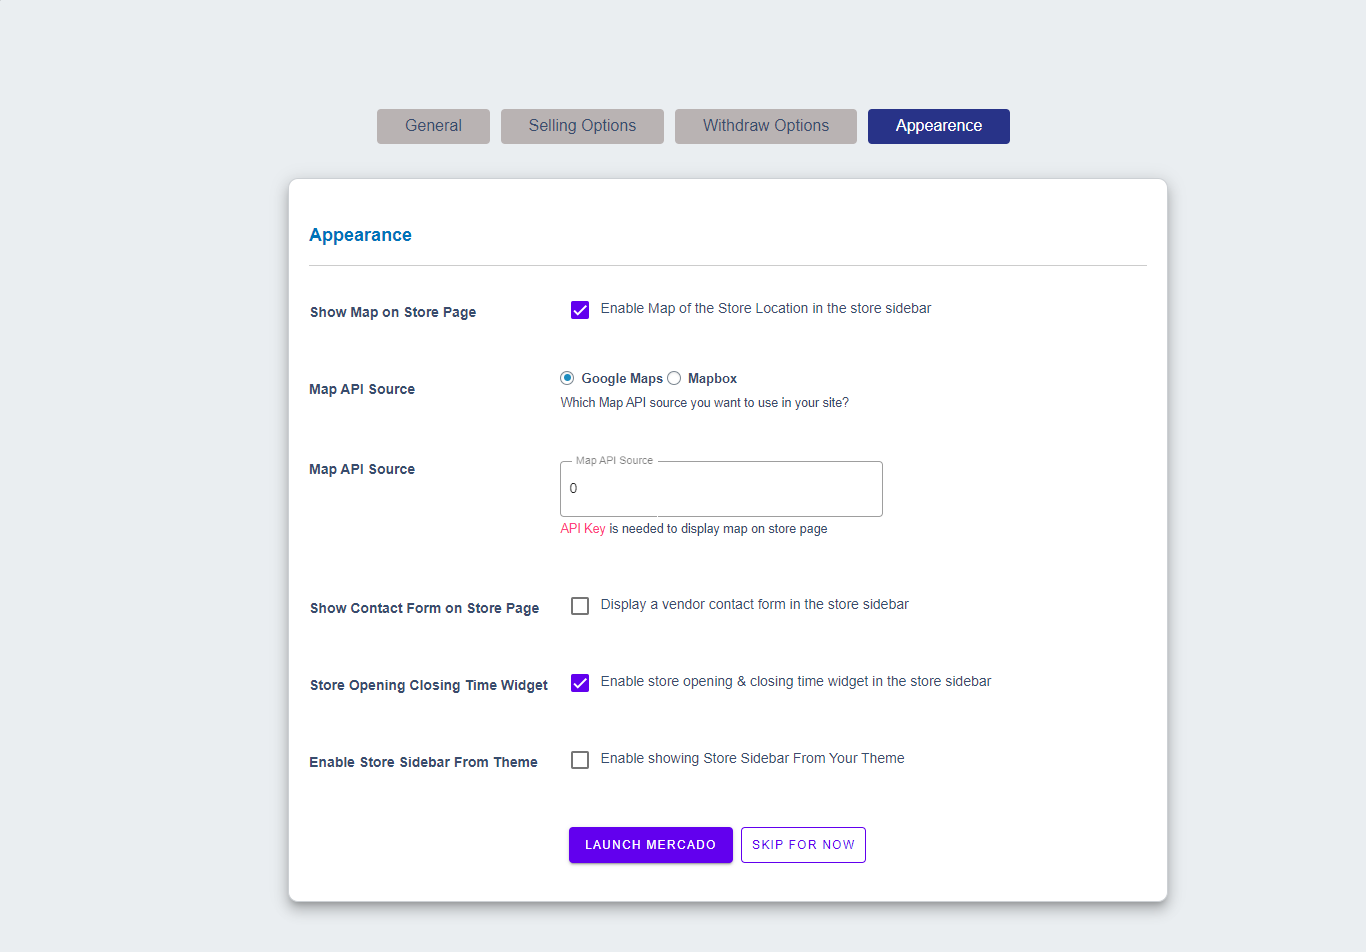
- Here you can setup map setting to the vendors that where will map appear and from you are taking map that source, Contact form of vendors to store page, Vendors opening and closing widget & Enable/Disable Sidebar for the theme.
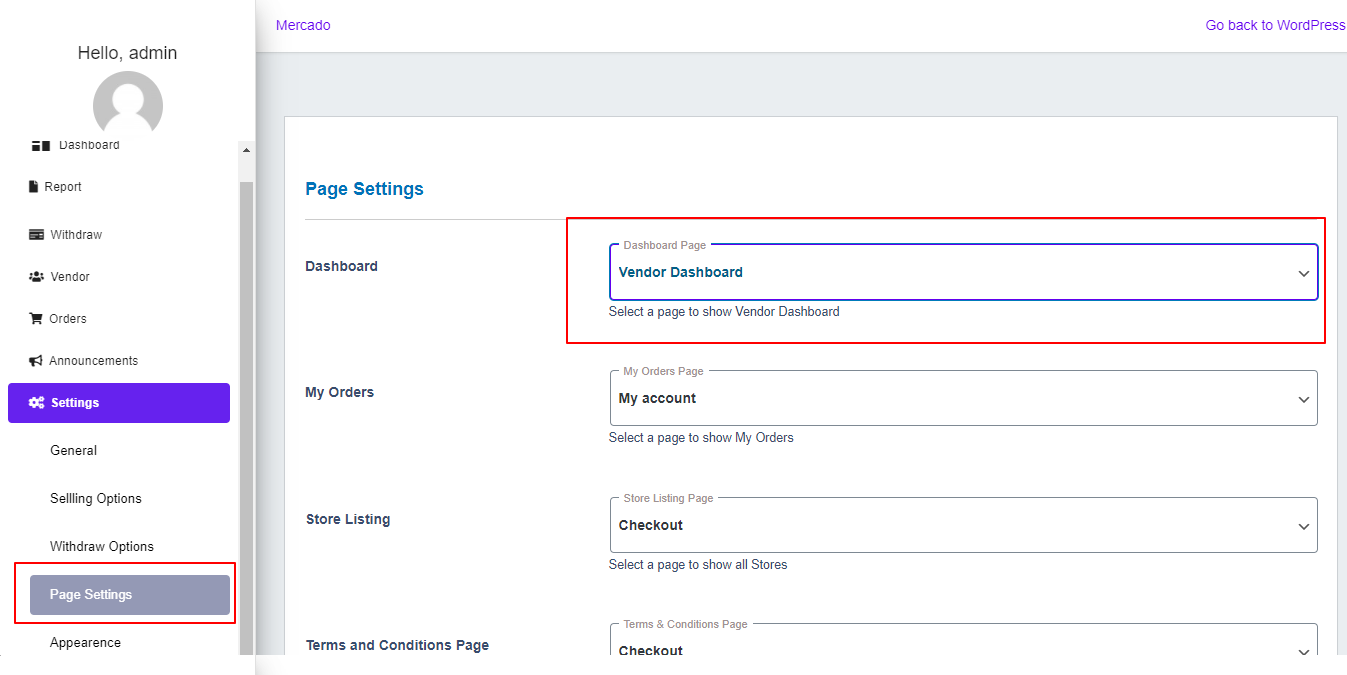
Now you need to go to the setting, then go in the page settings and for Dashboard select Vendor Dashboard.
Now you are ready to run your MarketPlace smoothly.
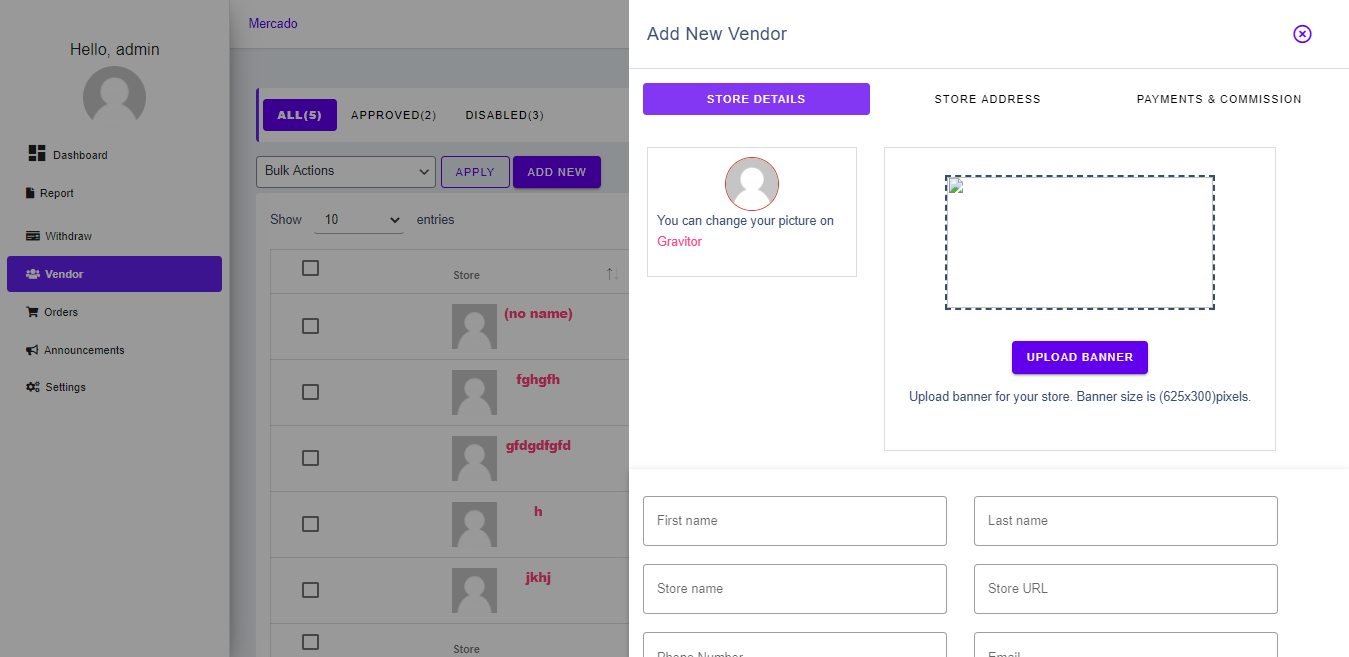
Let’s make your MarketPlace to be work. Here, either you can create vendors from your panel or the vendor can register himself via the WooCommerce login page.
And at this hand, Vendor can register himself by using the WooCommerce registration panel.
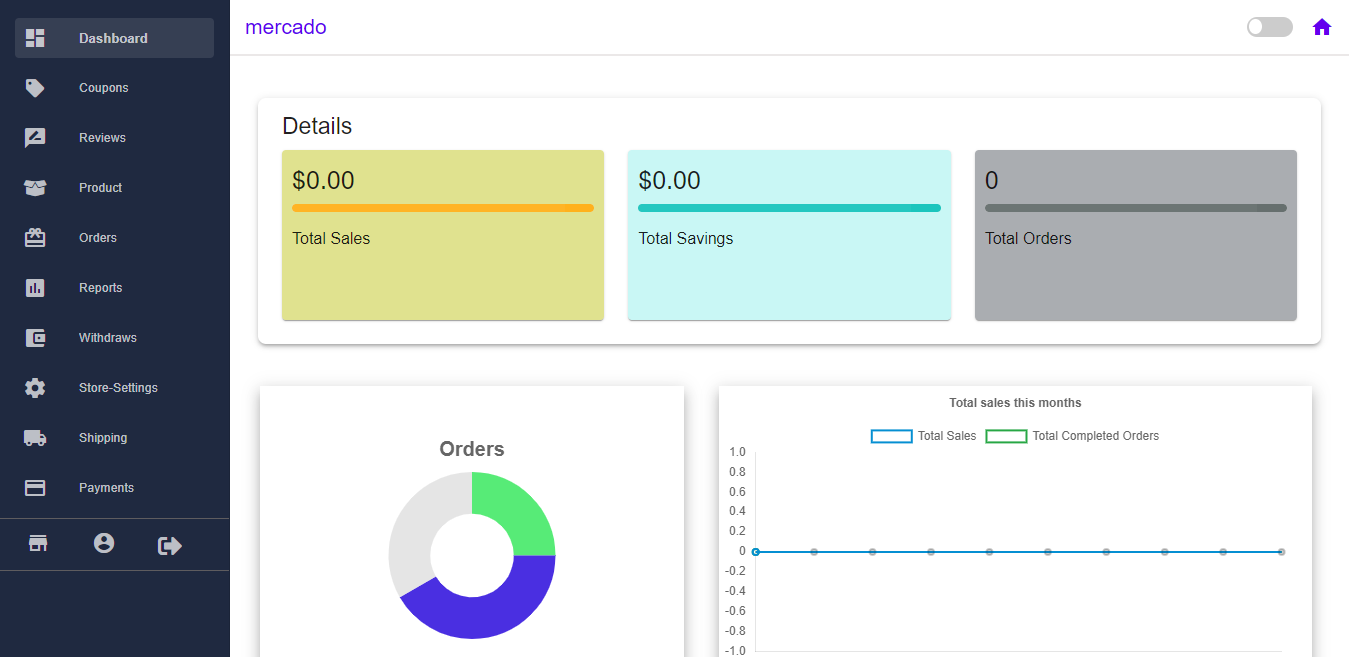
By clicking on ‘i am a vendor’ and fill all the details and let the vendor register himself. after registering the vendor he will be able to see his dashboard.
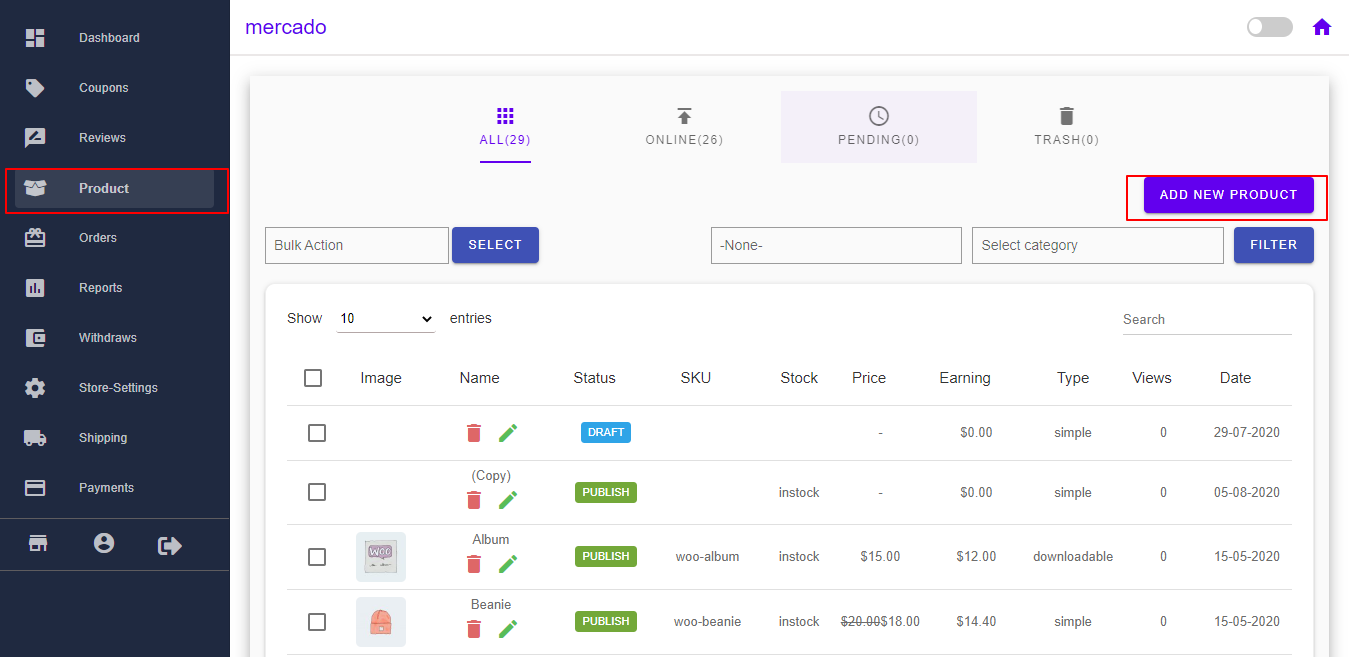
Now, the vendor needs to go product section & here click to add new product.
After adding a new product, you(Admin) need to review this product and accept that to it for sale. once it goes live, customers will be able to see your MarketPlace’s Product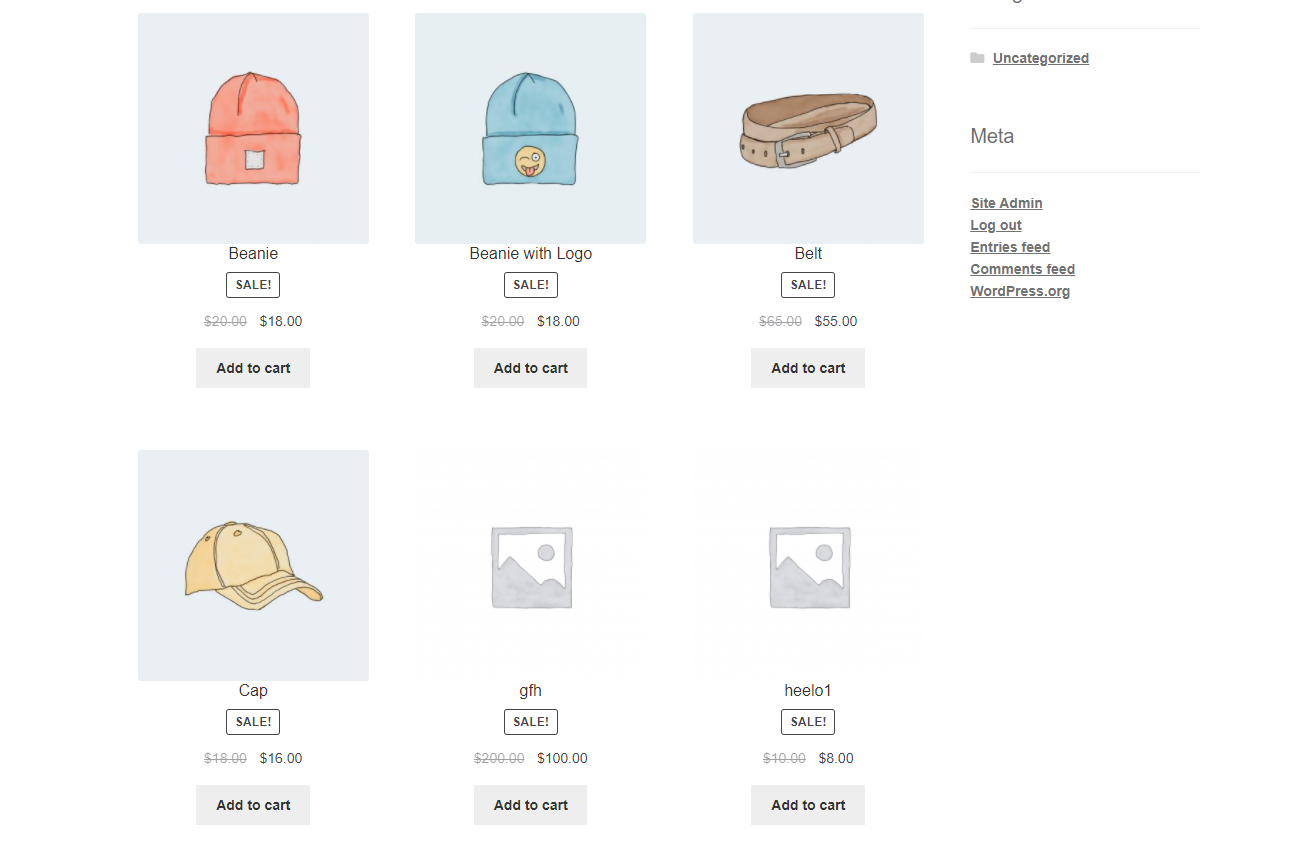
Now, the same action runs as WooCommerce, once order got placed by customer and order status got completed. you for commission and vendor for his earning will get paid, which you can see in your Dashboard and vendor can his dashboard.
